Grafting in Pattern
So before starting this, I should mention that while this is easier than Kitchener and less likely to go all awry by dropping your stitches off your needle it is probably something you should do in a well lit quiet space. At least the first time this is probably not the sort of thing you should do while you're on watch on a pitching deck (or on the commuter bus). Upon figuring this out pretty much everyone declares "I'll never Kitchener again!" or "That's so easy!" so take heart. That said the first few stitches are really tricky while you're getting the hang of it. Definitely worth it though to toss your cap to another knitter and say "Find where I joined this band!" On my hat they keep picking a row with particularly bad tension on the completely wrong side.
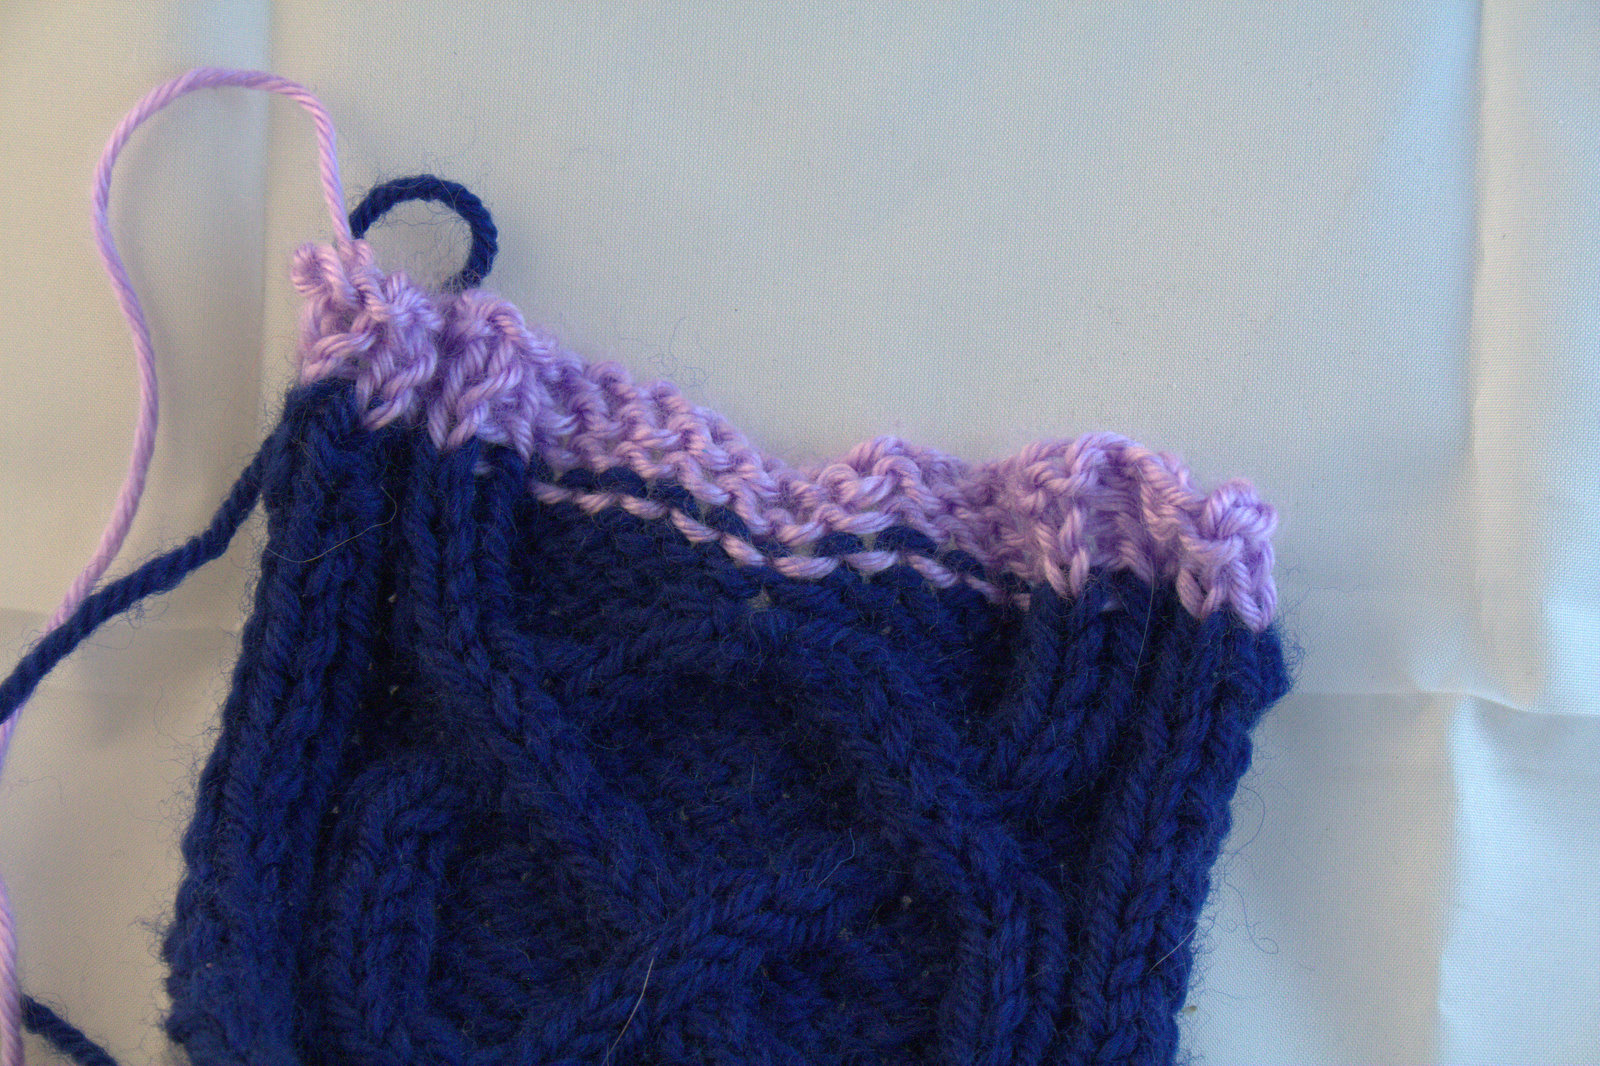
For purposes of this demo we're using the band from a
Carrick Bend Cap, knit in navy wool. The selvages are in a very slippy purple sport weight acrylic. Slippy yarn makes a great selvage yarn because it is easy to pull out and less likely to leave contrast-colored fuzzies. It is also handy if it is a bit smaller in diameter. We used sport selvage with worsted yarn. We grafted the whole thing in slippy pink acrylic so you can see the graft. It was then re-grafted in navy wool so you can see the final effect in photos.
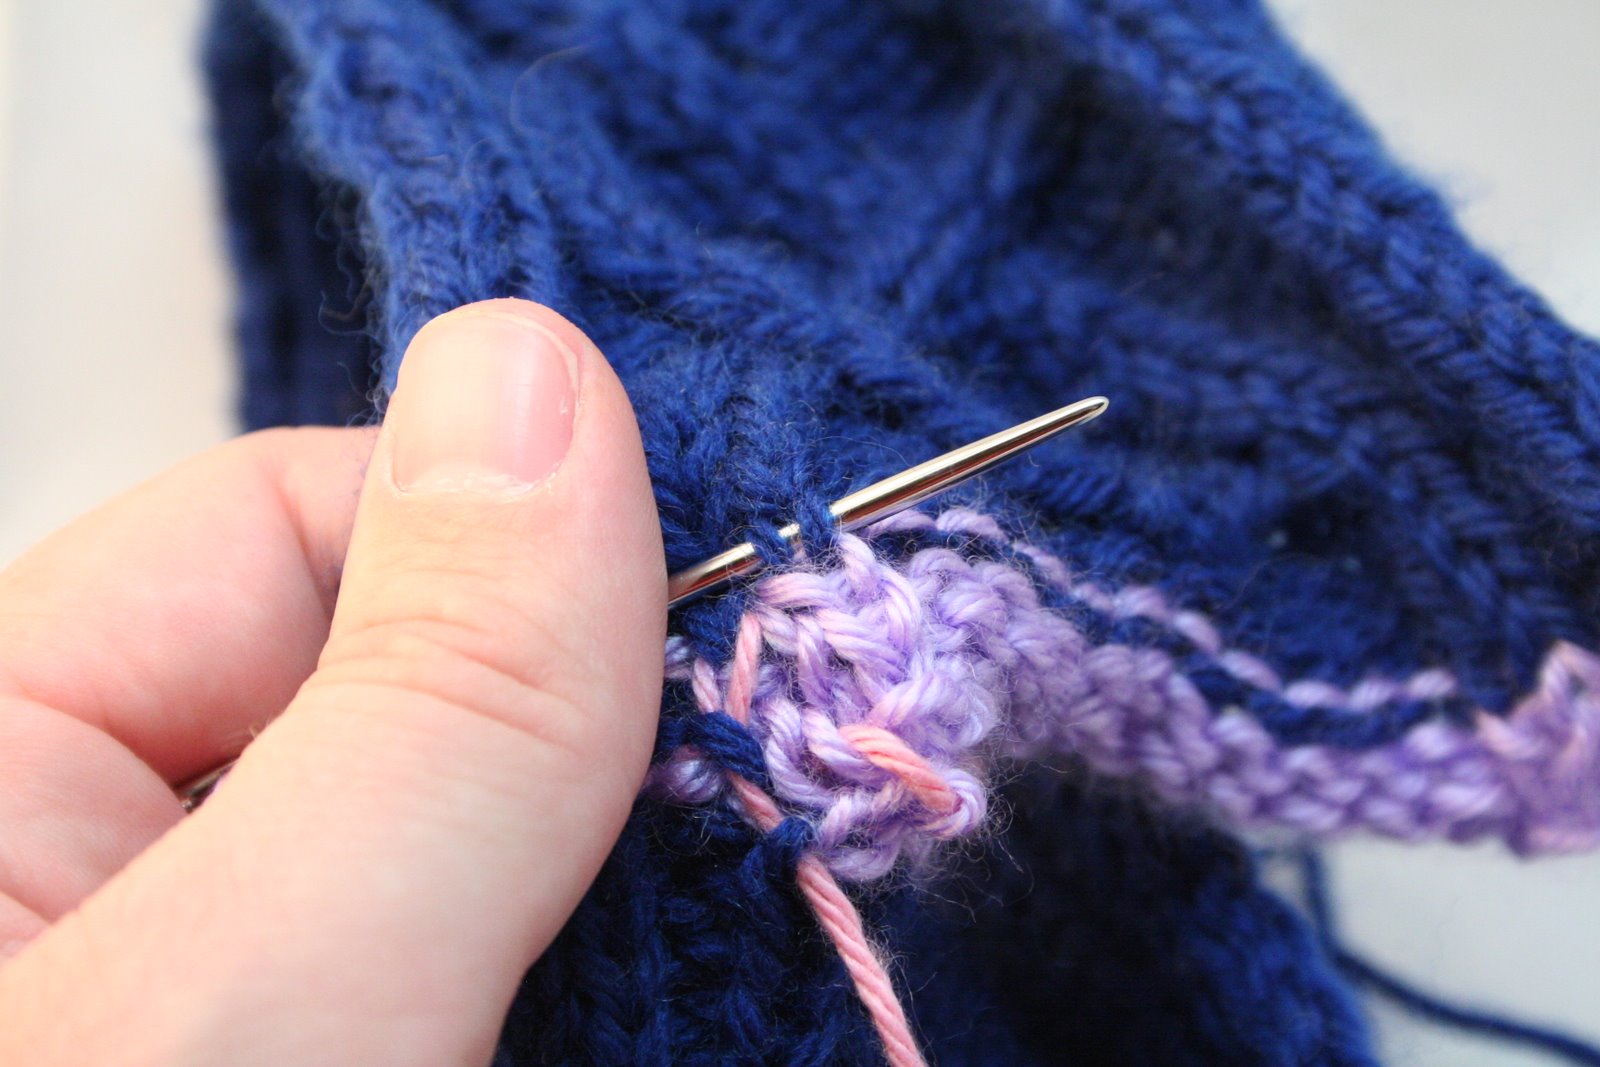
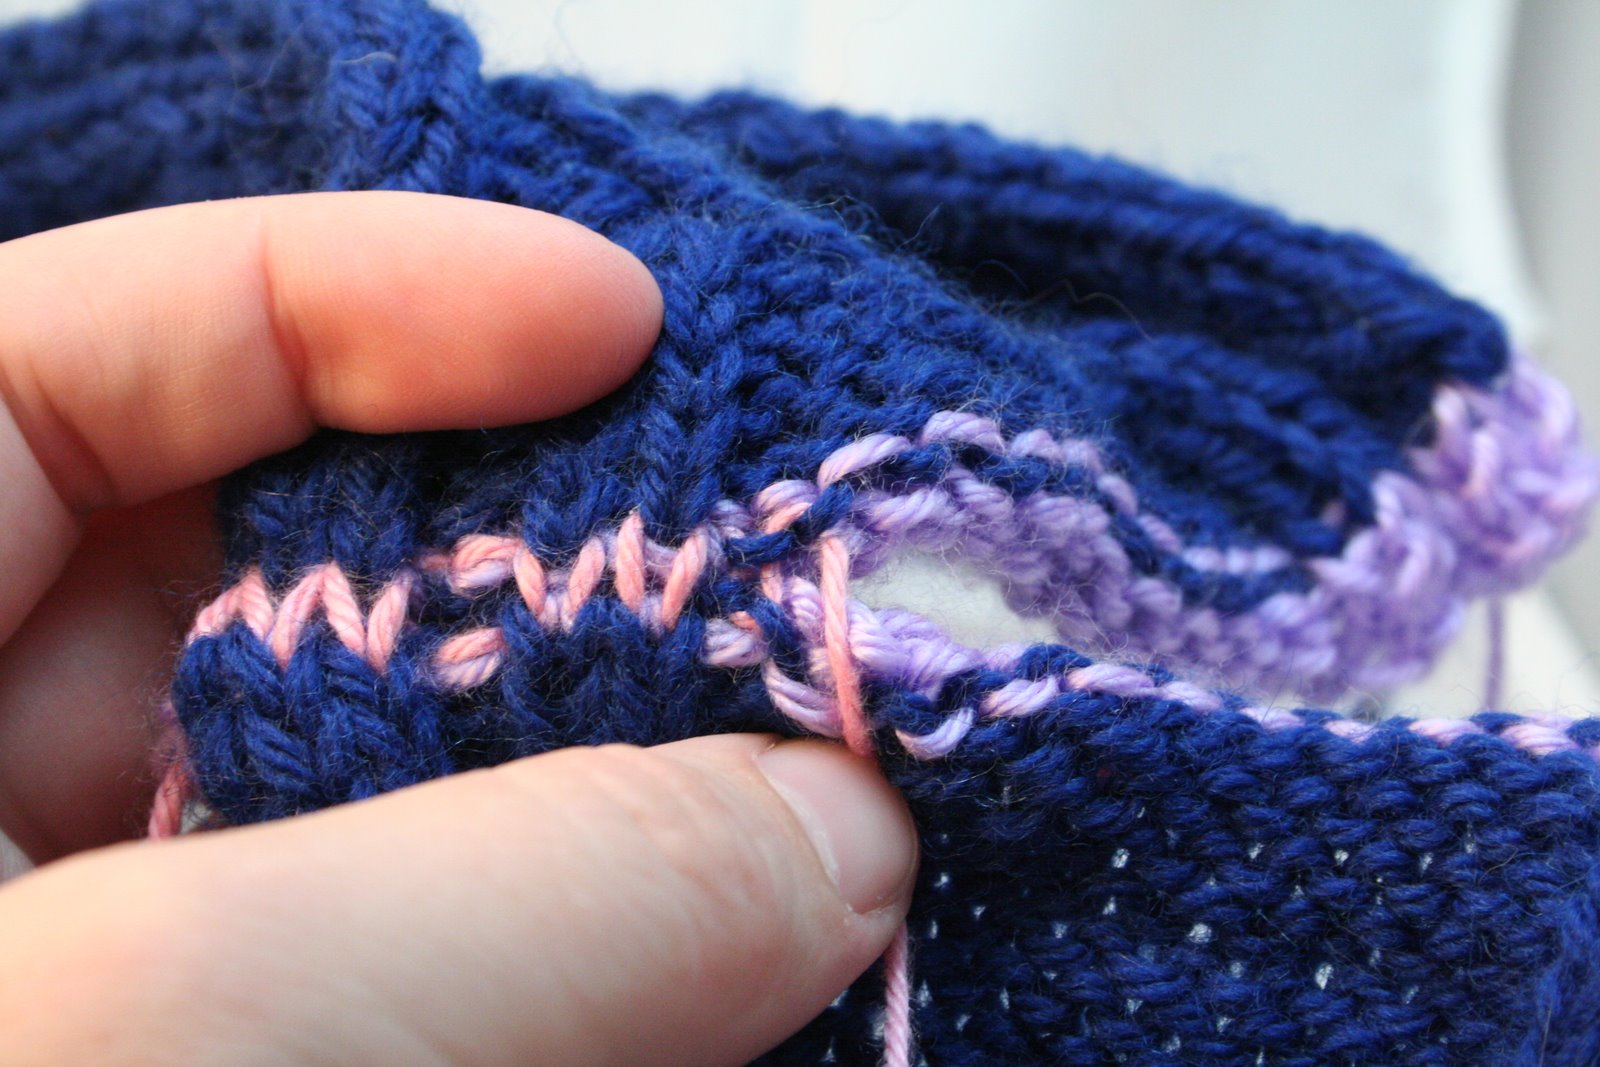
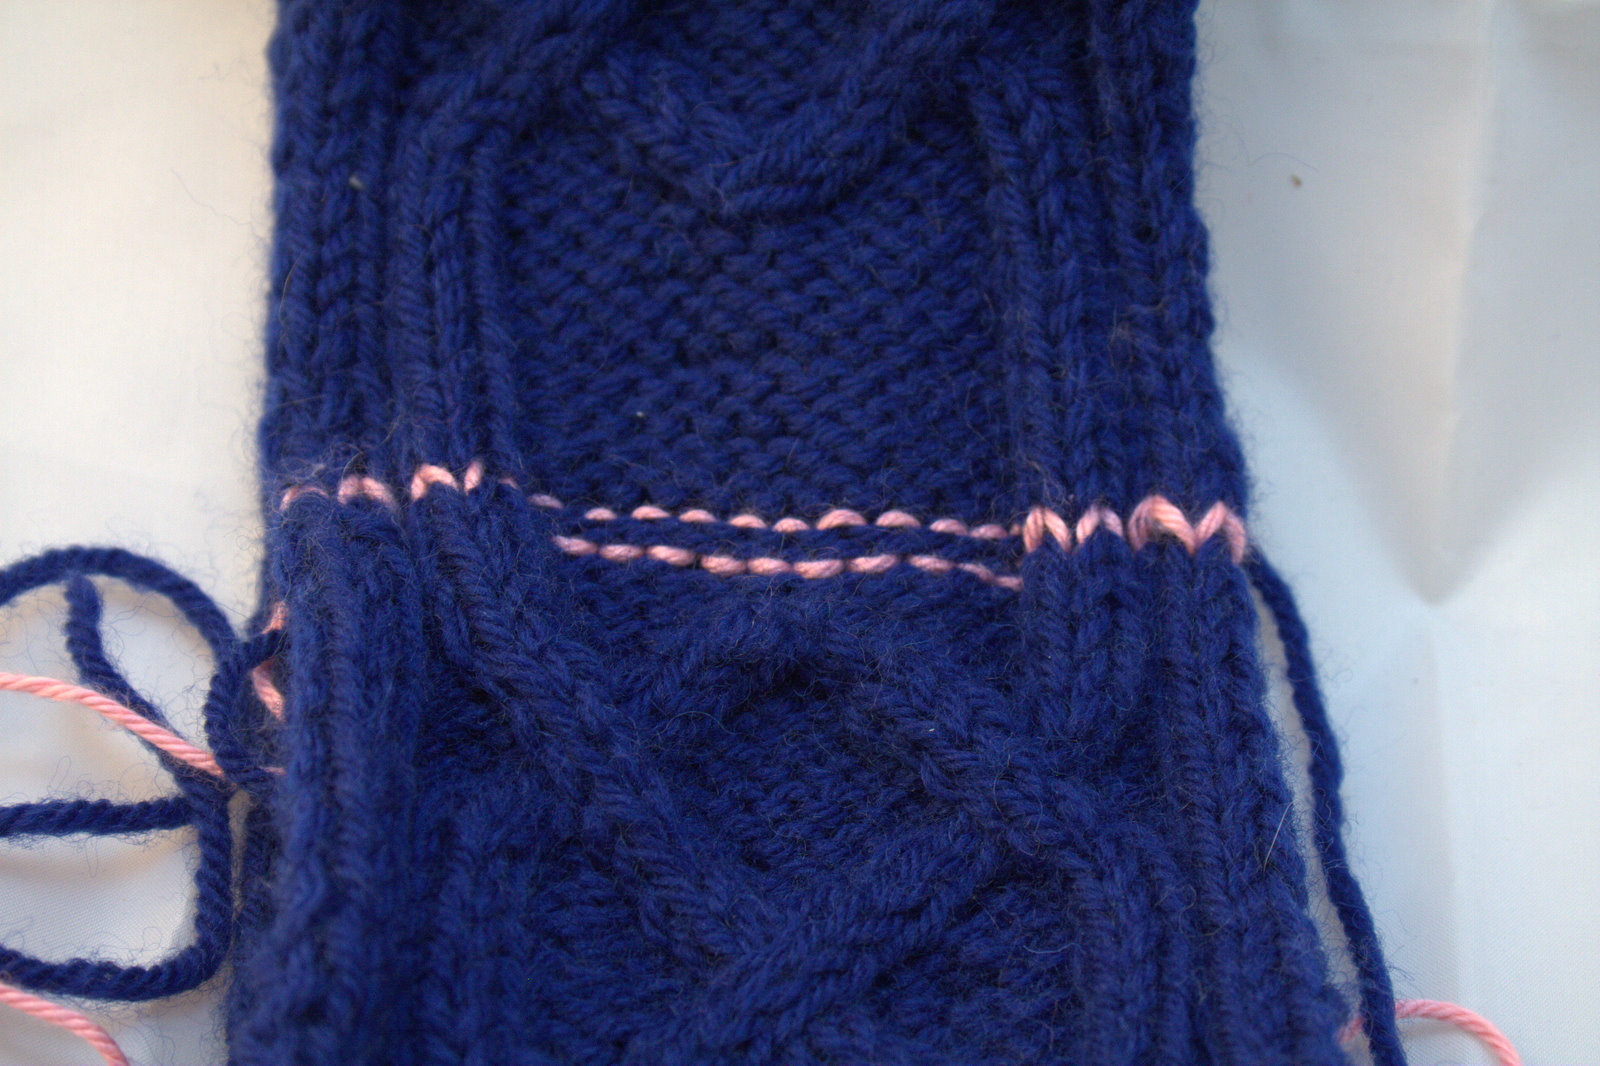
Tension is important but fixable. Most people have a tendency to try and graft too tightly. Go a little loose, maybe a lot loose. it is easy enough to work the excess out before weaving in your final end. If you can get it to match your original tension the seam will be basically invisible. The grafted row in this photo is the one immediately above the one with the needle in it.
It is critical that you get your stitches lined up correctly when you start this and that you don't lose track of where you are while grafting and get off half a stitch. If it suddenly seems hard to do, you're probably off half a stitch. Or if it isn't perfect to nearly invisible you're off. Pick out a few stitches and you will likely see where you went awry. I find that variegated yarn makes a nice selvage to follow because the color changes make it easy to keep track of where you're at and not miss things.
It is easiest to graft in pattern if you do your provisional cast-on and then knit the last row of your pattern a couple of times in your selvage yarn before starting your pattern in your working yarn. This gives you a nice selvage edge. I wouldn't try this on a cable cross row, or one with lots of increases or decreases, but almost every pattern has a plain or only slightly ribbed row somewhere. If you are only reading this tutorial long after cast-on, don't worry. You can still follow these steps using only a provisional cast-on.
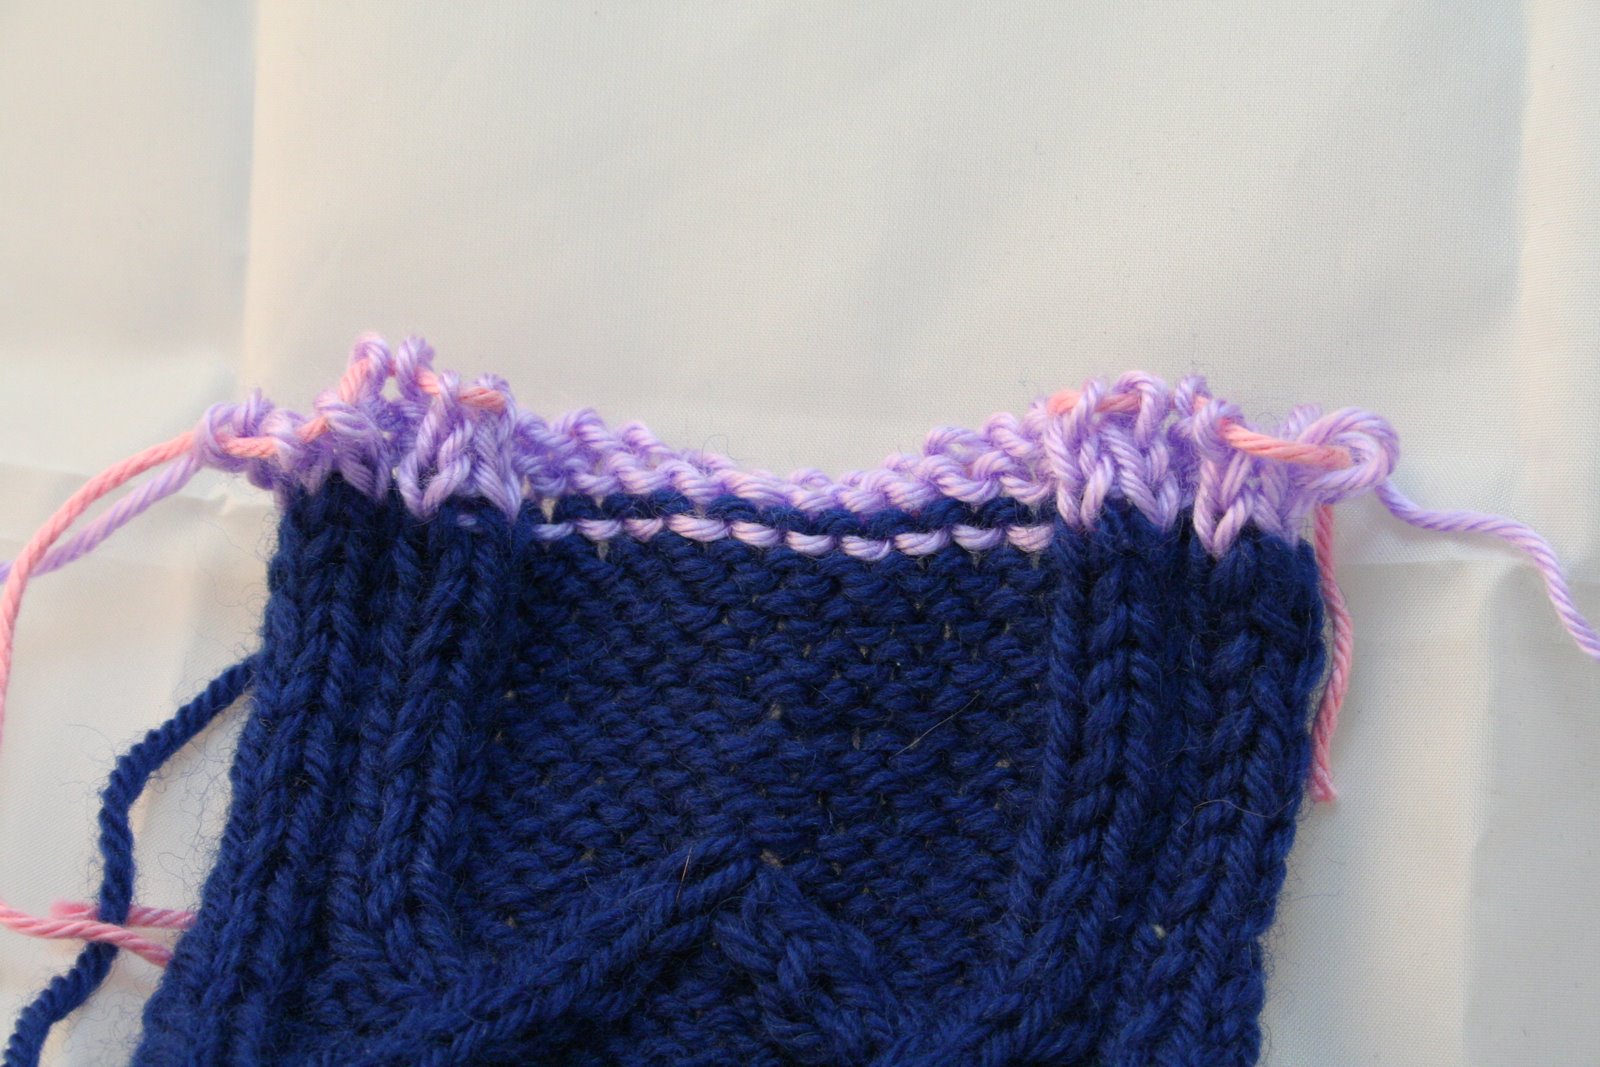
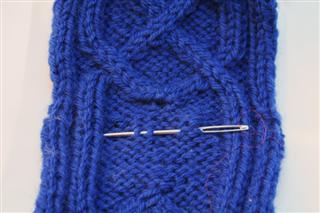
Knit your item to be grafted. Leave yourself a tail that is about four times the width of the seam to be grafted, or maybe a bit more if the item is narrow so you have enough yarn to graft with and still weave the ends in. Use your selvage yarn to do a couple rows in pattern to match the other side of the item. No need to bind this off, just slip it all onto a bit of waste yarn (photo2)
If you're grafting the toe of a sock, just knit a few rounds in pattern in waste yarn.
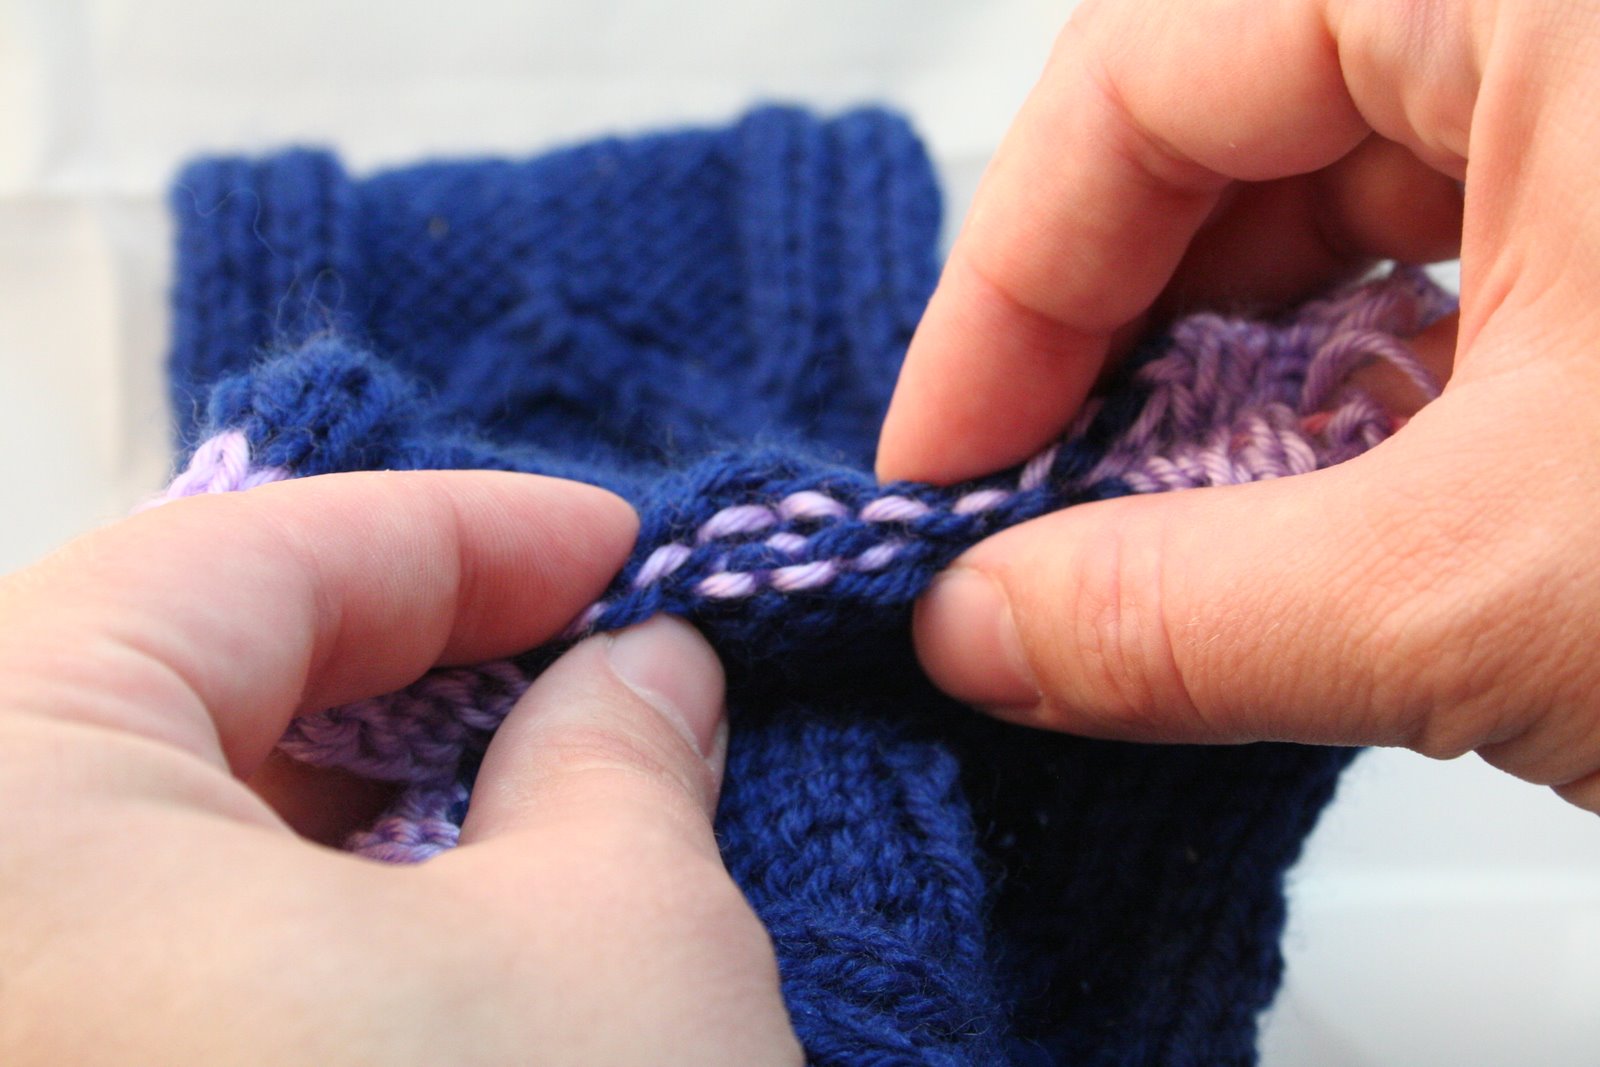
You should be able to fold the selvage in and see how the stitches should line up. Actually in this photo they're not lining up quite perfect, but pretty darned close.
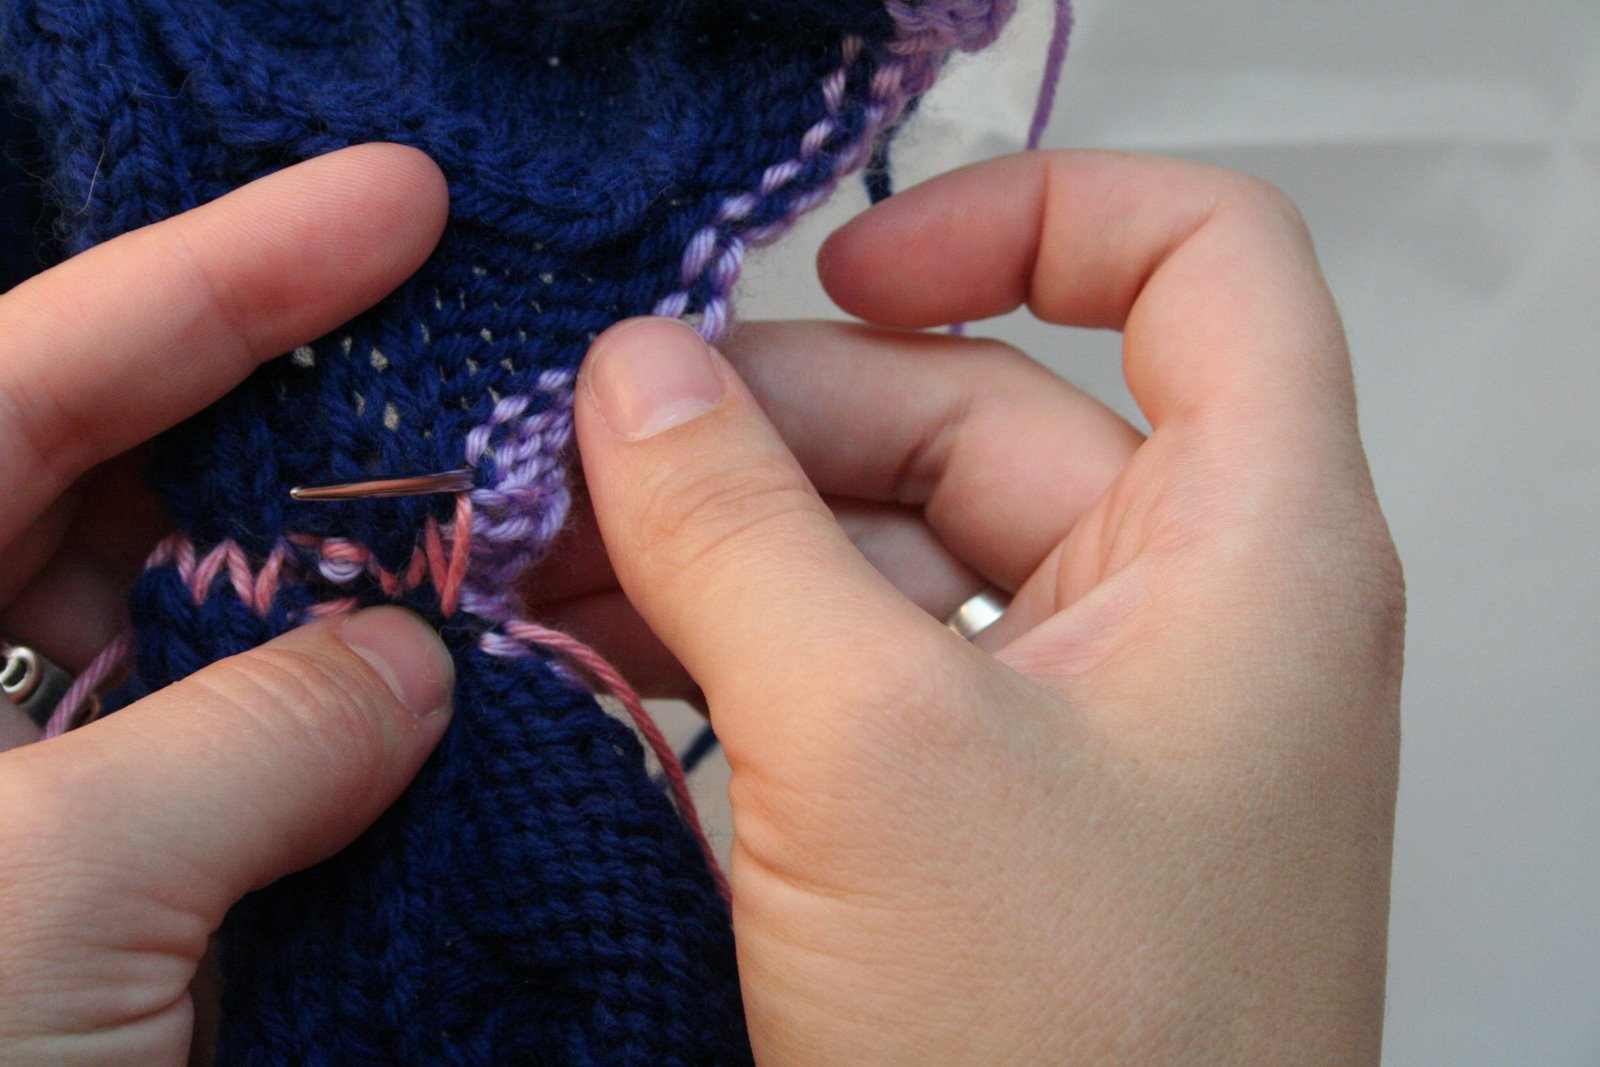
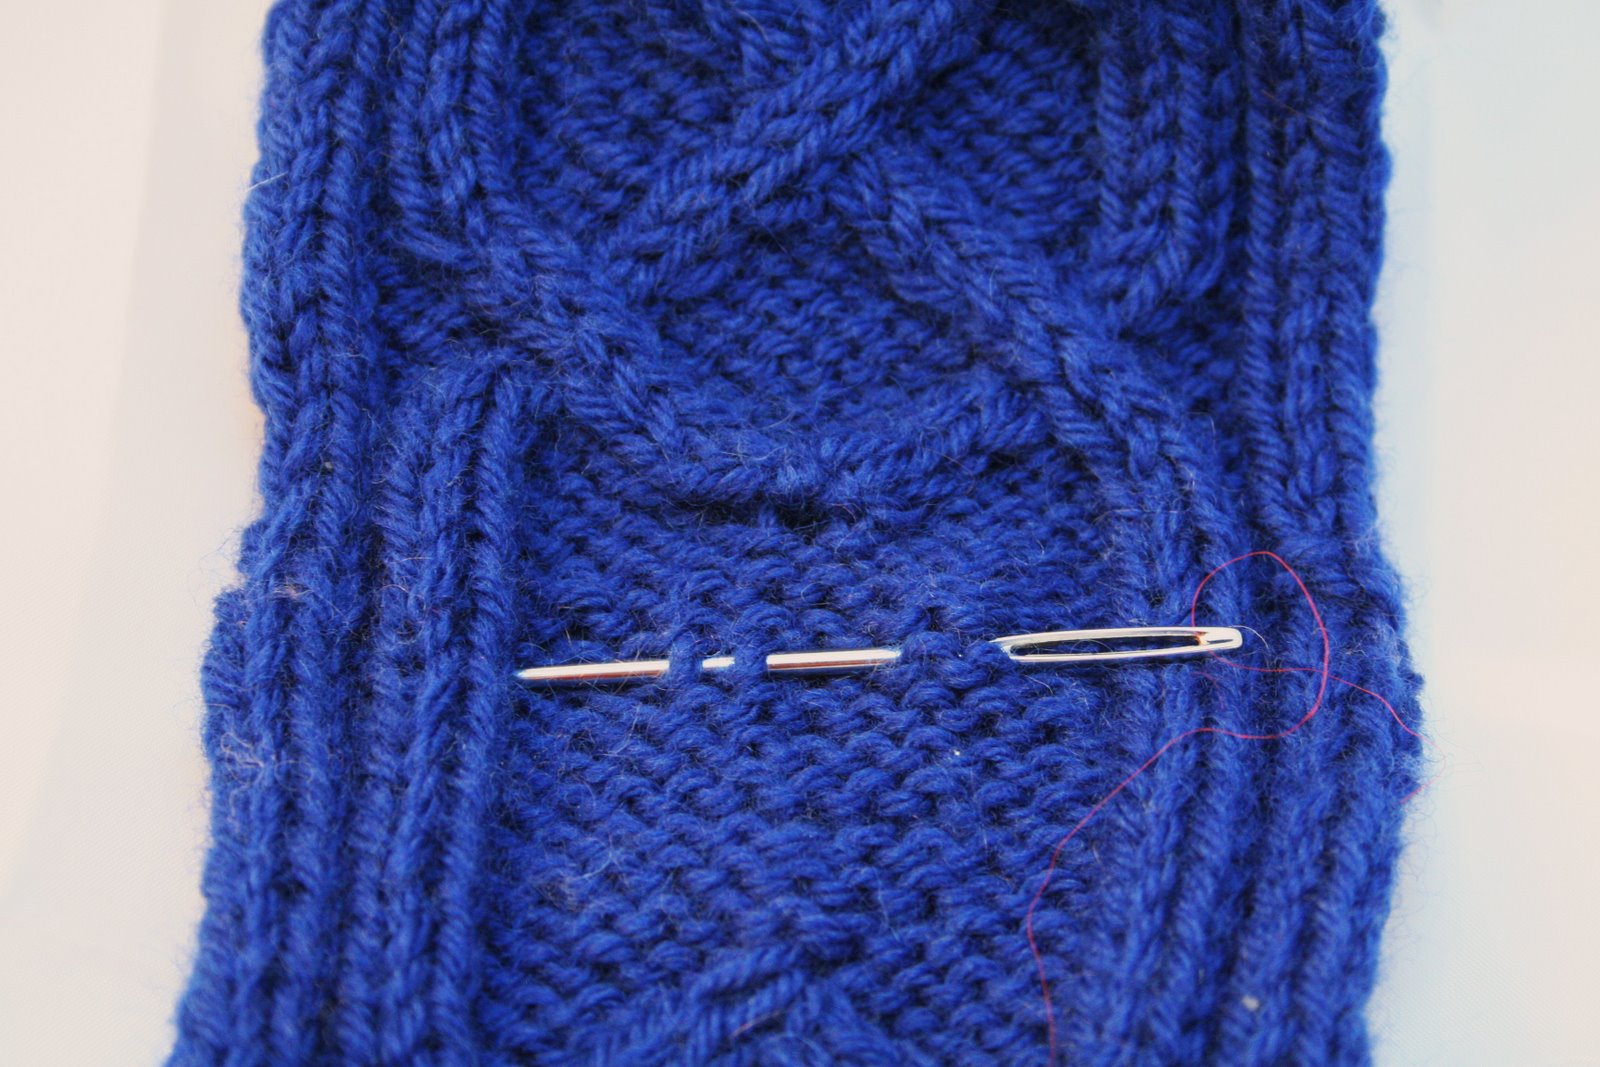
Take your working yarn tail and thread it on a yarn needle. With the right sides out, face the selvages together. Make sure there are no twists in your item. Carefully examine where your cast on selvage meets your working yarn.. notice how the yarn enters the first stitch. Really look carefully. This is the easiest place to get misaligned. Put your needle through the first stitch following the path of the selvage yarn, then follow it through the path down into the first stitch on the other side of your piece. You are going to be forming knit and purl stitches exactly as if you were knitting them, but with a needle. (picture 4)
Once you are through the first stitch on the top and the first stitch on the bottom you go back to the top. The selvage edges provide contrast yarn for you to follow through the stitches.
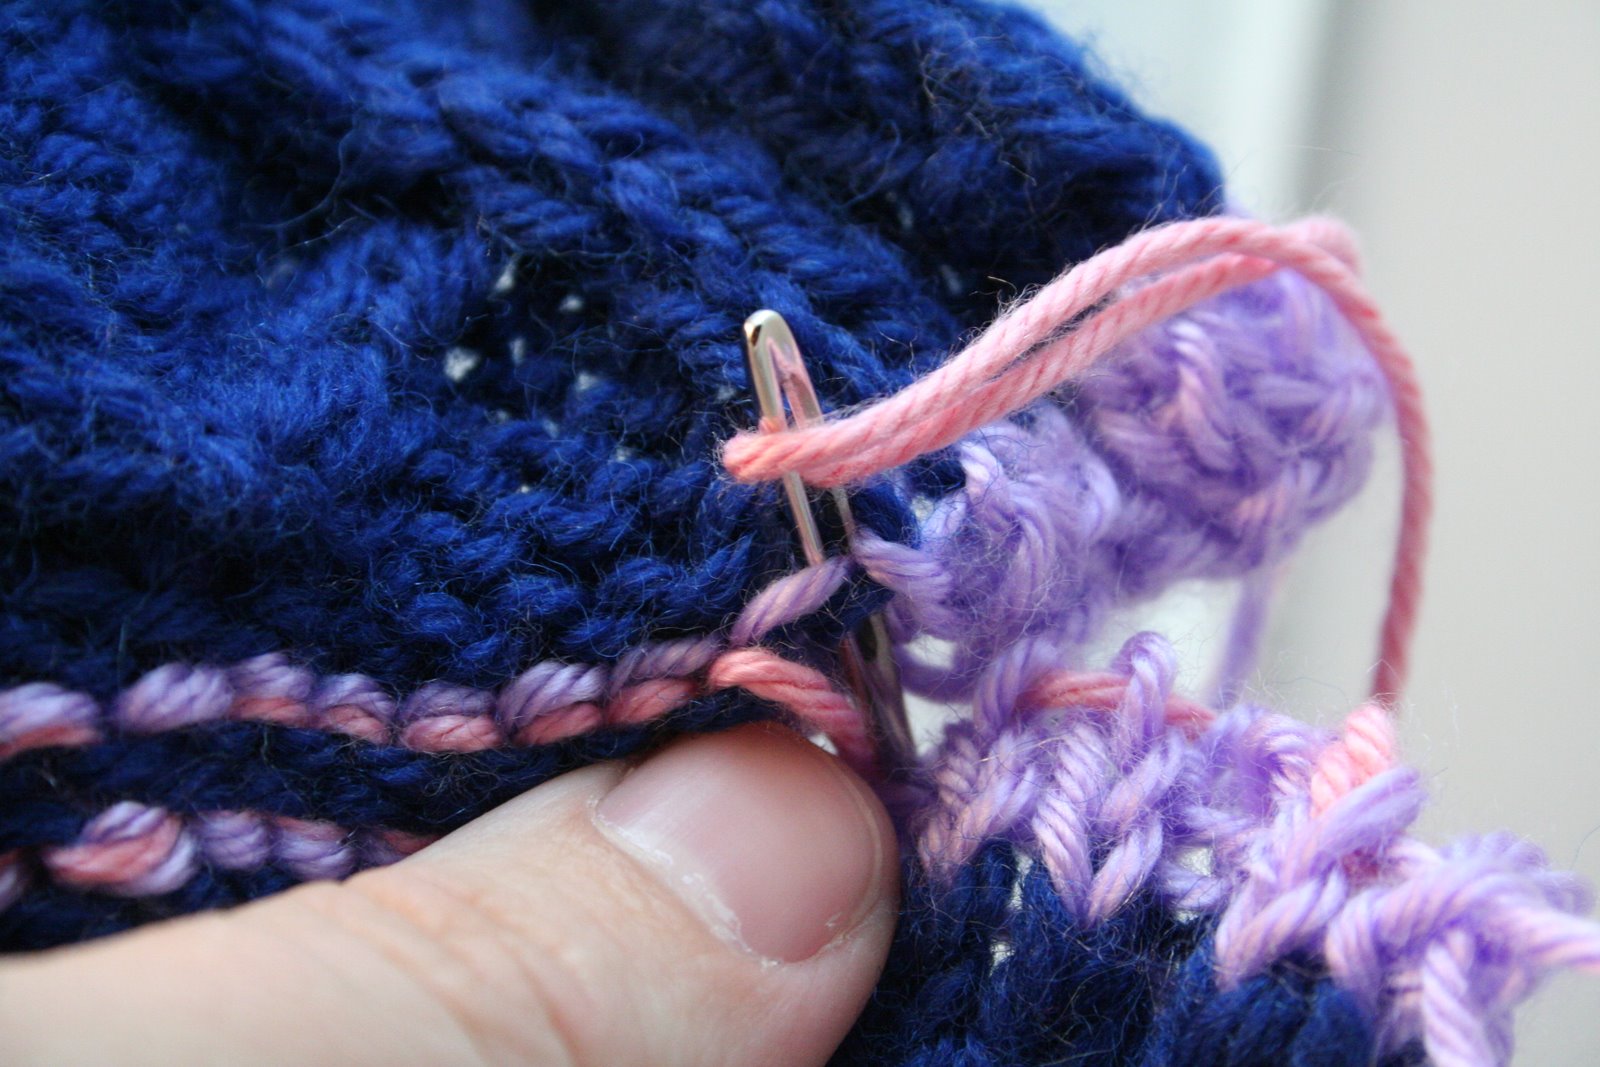
If you are doing it right your stitches should look basically exactly as though they are in pattern with the ones above and below them. If things look wrong (other than some loose tension) take a deep breath go back and examine what you've done. Your working yarn (the pink in this case) is just playing follow the leader with the purple selvage yarn as it enters and exits the working blue yarn. Your graft will of course be in the color of your working yarn but that was REALLY hard to follow.
Transitions from knit to purl are very tricky. Some of the stitches end up pretty far behind and sort of hidden, so take extra care in these areas. Notice how the two pink knit stitches are very clearly in front and then the pink yarn goes to the back a bit and then starts making purl stitches. Really it's all as simple as following the indications in the selvage but you have to be sure not to miss any of the passes or you'll get off half a stitch and it will show up later and thwart you. (I in fact had to pull this example out once having missed one and not noticing until I got to the next knit stitches.)
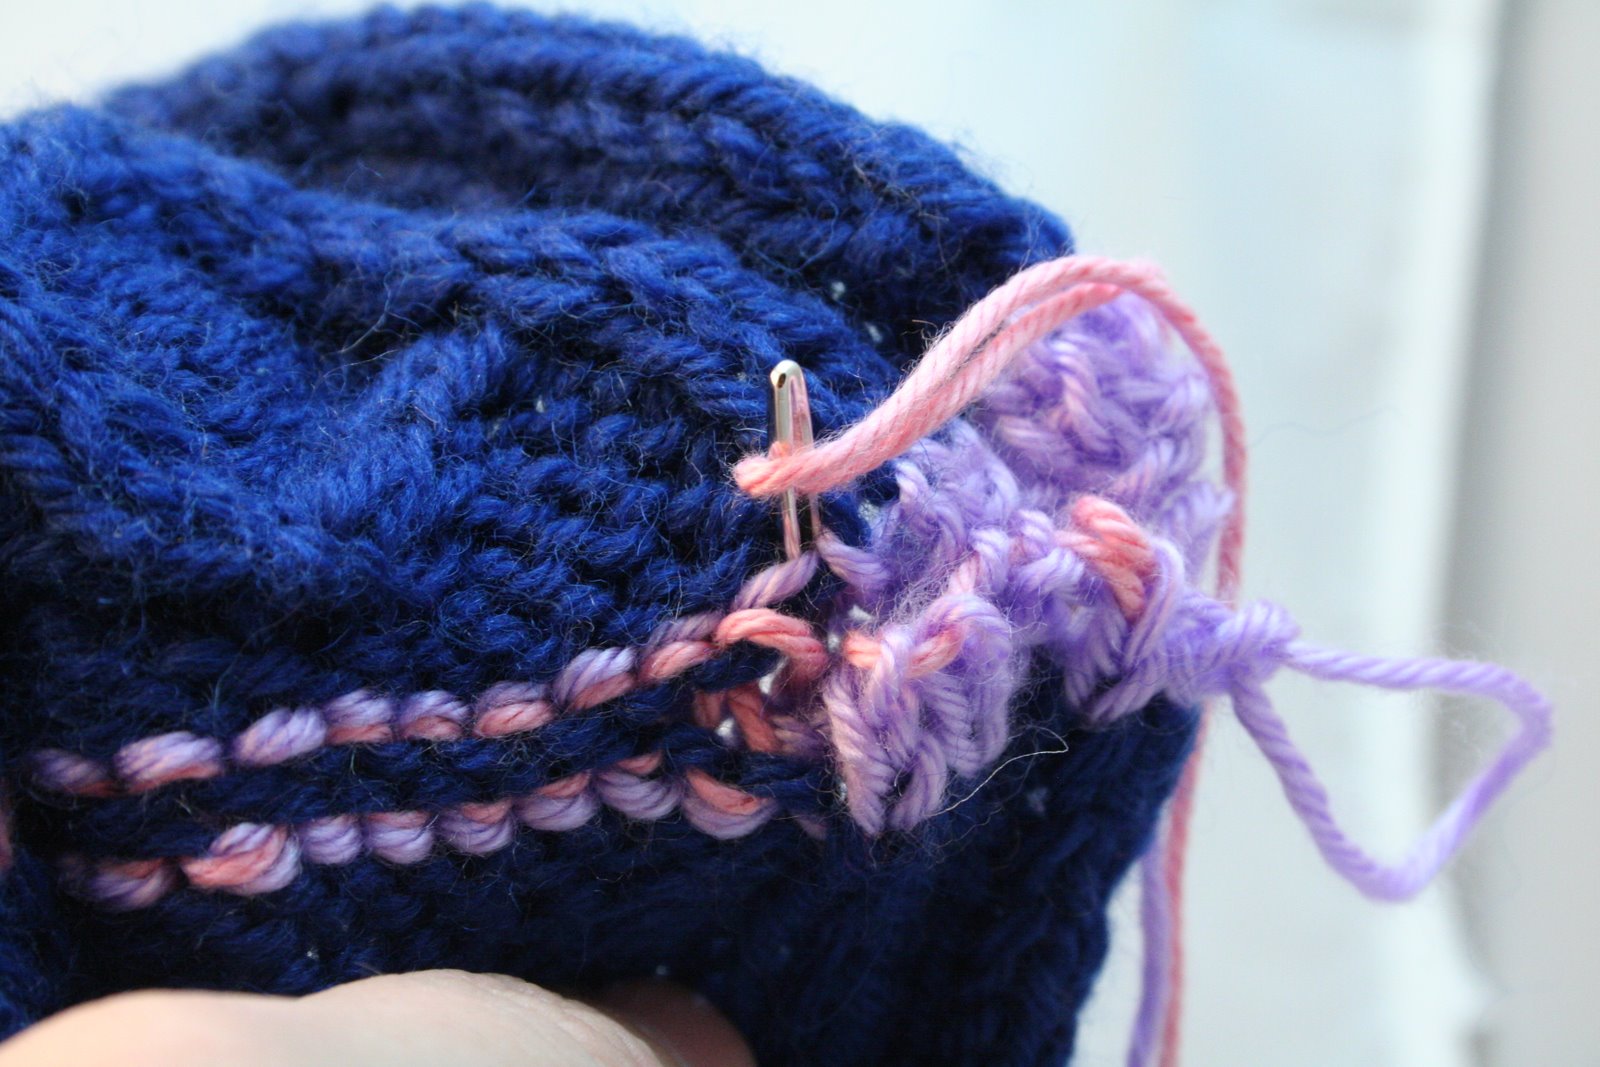
Transitions from purl to knit also involve going through the back of the stitch as shown here. It is amazingly easy to miss this deep corner, where the leading edge purl stitch is almost entirely behind the trailing edge of the knit stitch. So watch your transitions from knit to purl carefully.
If you look closely you should notice notice how the pink grafting yarn follows the path of the purple selvage yarn exactly. By doing this you will end up with a complete duplication of all the stitches. This is another reason it's good for your selvage yarn to be a bit slippy and lighter weight. It'll make getting your working yarn through the stitches easier if you have a bit more breathing room.
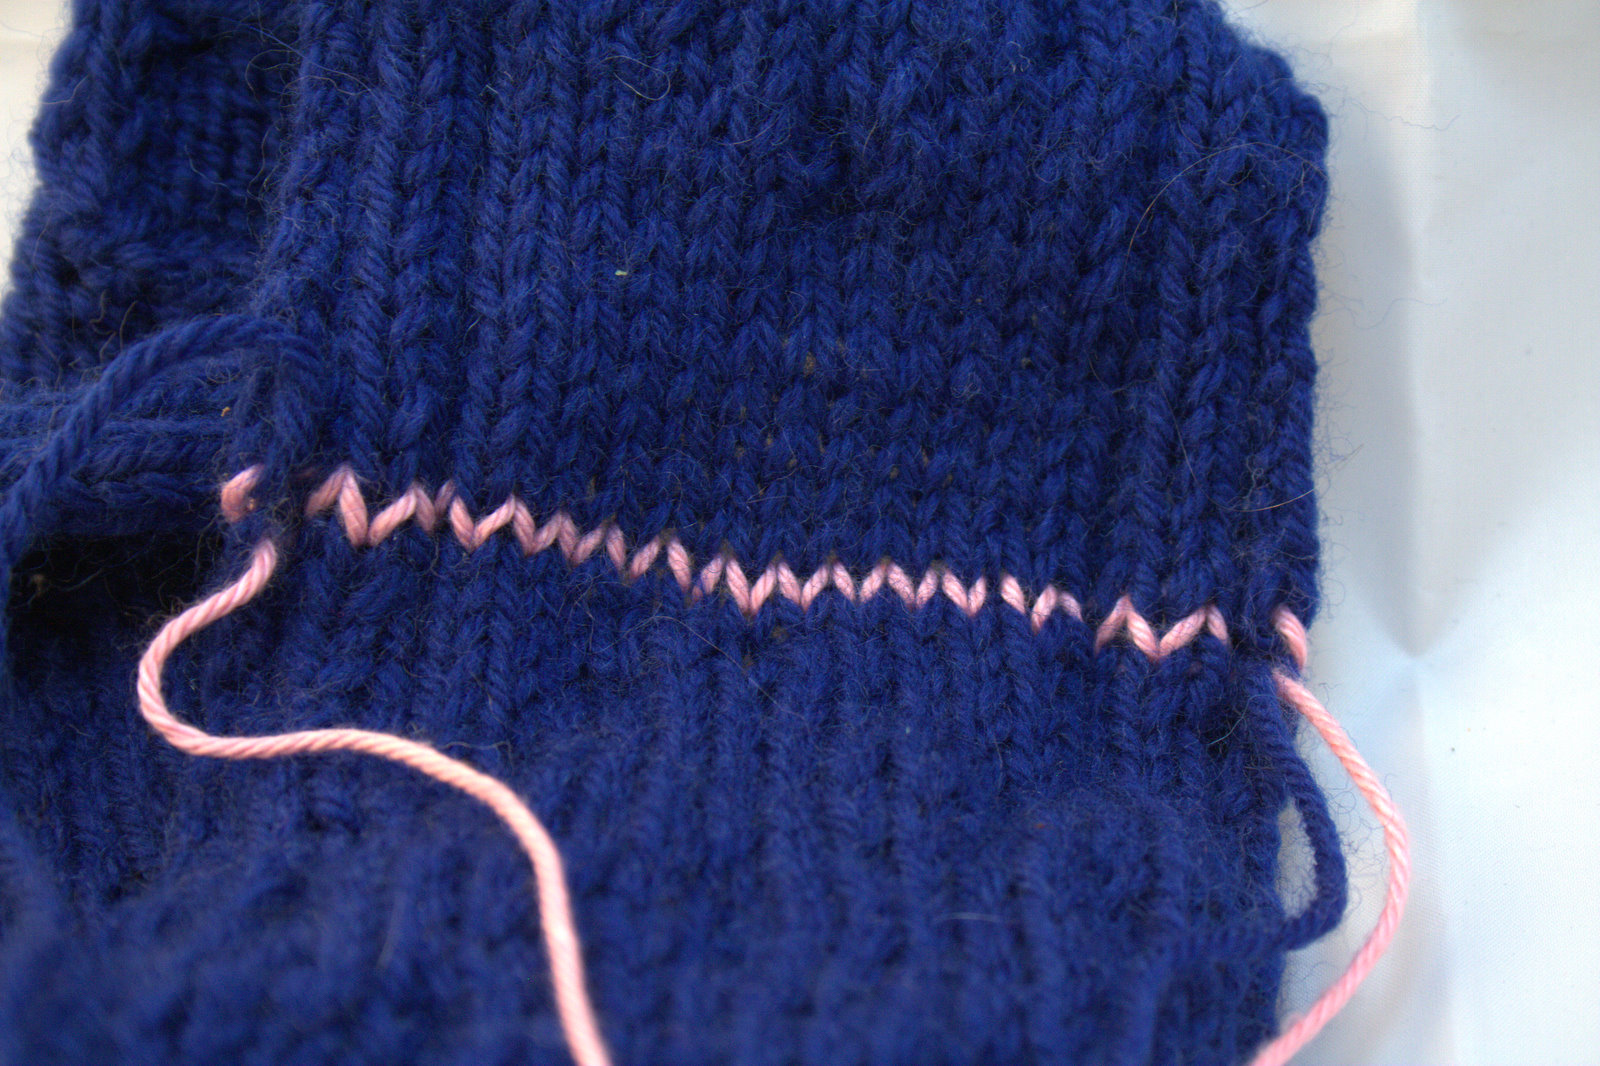
When you are done grafting all the way across you should see the selvage stitches sticking through around a row of knitting that is perfectly in pattern. The back side will have the selvage all sticking out in a ridge. If it isn't right don't go ripping out your selvage yet. You can just pick out far enough back to fix the graft. Once you're sure it's right you can move on.
You can now take the waste yarn out of your final selvage and pull it out. Also pull out your provisional cast on and it's selvage. This is the awesomely fun part as you can watch the stitches come out of the front side of the fabric leaving only your graft. It should look pretty good front and back
Take a minute and look at your tension if there are any really loose or tight spots you can use the point of your needle to pull more or less yarn from the tail all the way across one half stitch at a time to get it right. If you're using wool and you're going to block it anyway it will hide a ton.
Once you're happy with it's appearance you can just weave in the end.

 For purposes of this demo we're using the band from a Carrick Bend Cap, knit in navy wool. The selvages are in a very slippy purple sport weight acrylic. Slippy yarn makes a great selvage yarn because it is easy to pull out and less likely to leave contrast-colored fuzzies. It is also handy if it is a bit smaller in diameter. We used sport selvage with worsted yarn. We grafted the whole thing in slippy pink acrylic so you can see the graft. It was then re-grafted in navy wool so you can see the final effect in photos.