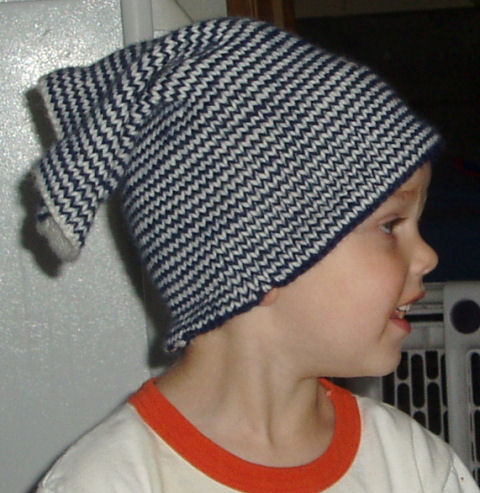
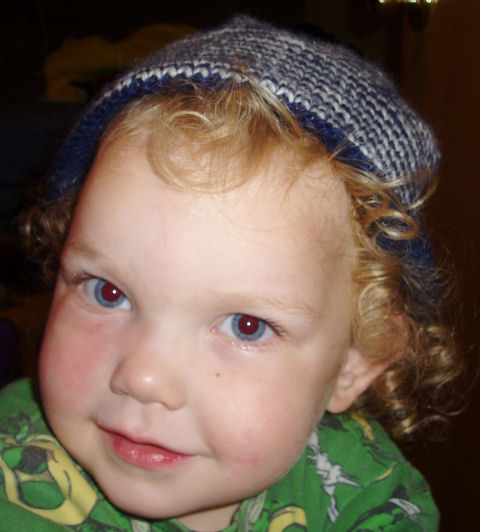
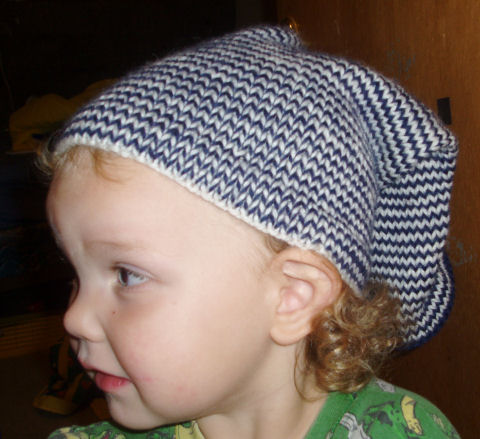
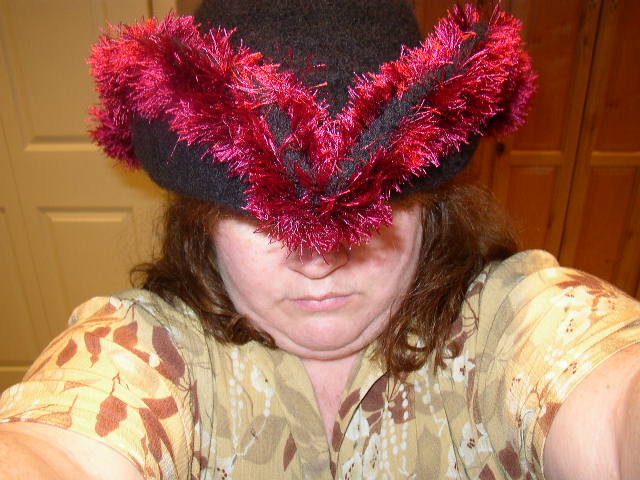
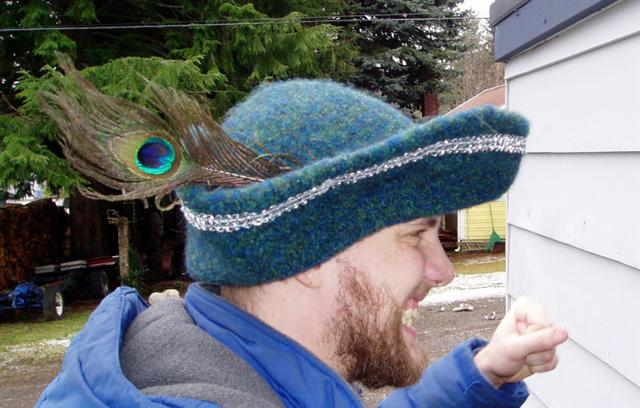
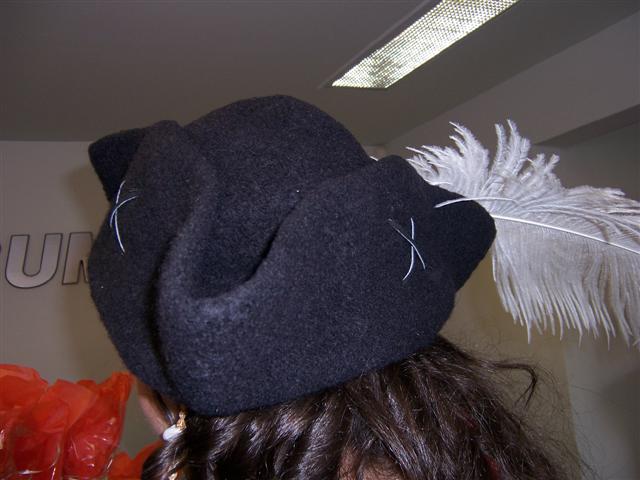
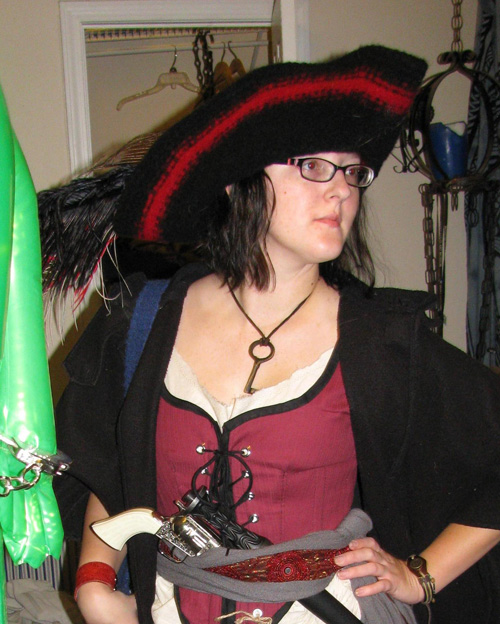
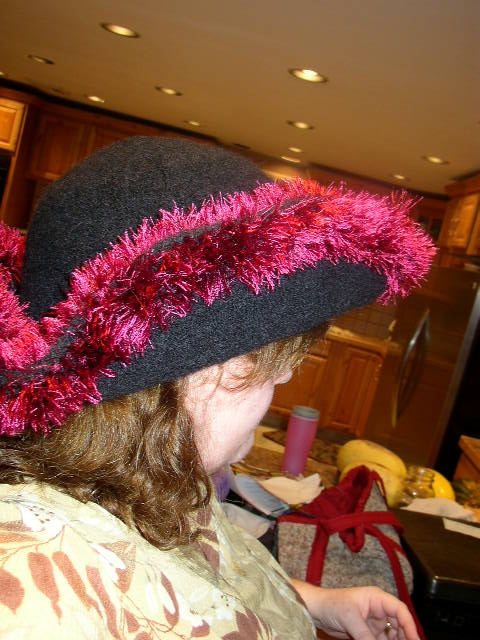
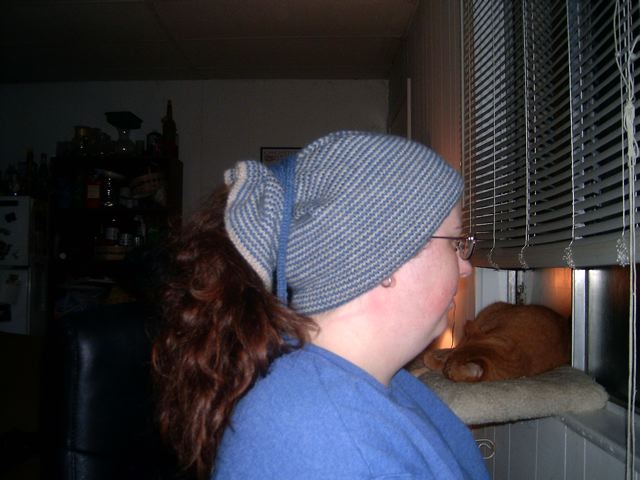
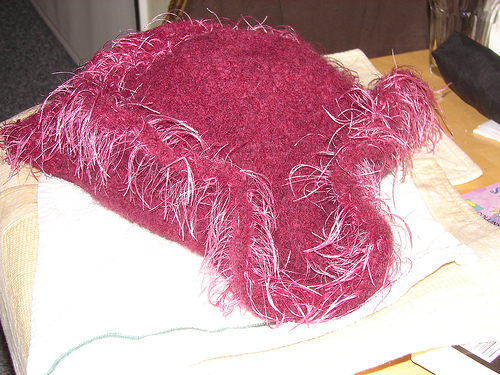
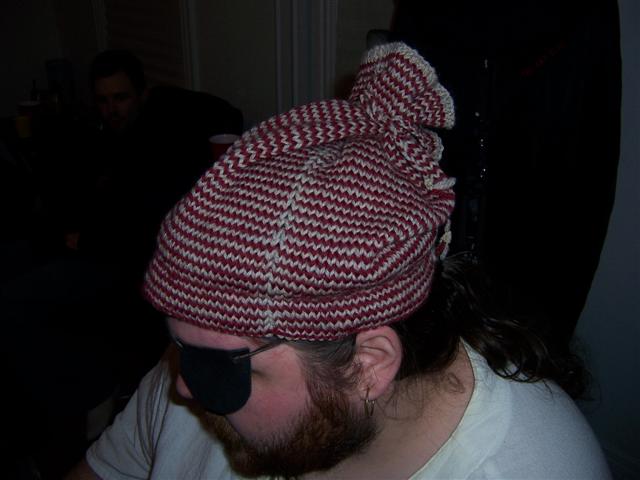
Yarn Galleon
Arr! So now that ye have a project, ye be wantin' something to tote it in. Oh, sure, you could use yer seabag, but the bitty needles is always fallin' to the bottom, and yer yarn smells like dried cod. Well, ol' Matey Didactic has a treat for you.
Presentin: The Yarn Galleon!
Yes, it be be-polka-dotted. A pirate has to take what fabric she can get her hands on, and sometimes the lootin' resembles the day after Christmas, with all the crazy ladies, belike. But if ye be in a mockin' mood, well, I have my sharpened DPNs right handy! (Besides, isn't it cute? So retro!)
This be a one-project bag, with room eno' for yer kit and caboodle, wallet and suchlike.
See? Here be the inside of the fine spanish lady:
The white polky-dots are the bottom and the side pocket.
So, whaddya think, me hearties? Would you like to set sail with your own yarn galleon, as full of treasure as the Spanish bluff-siders? Say ARR!
Instructions:
First, determine how big you want your bag to be. Mine is about 10 inches wide by 6 inches deep at the bottom, and 16 inches wide at the top.
This be a good size. Too big and ye'll find yourself struggling to control all the surfaces in a brisk chop.
On a piece of butcher paper, draw a horizontal line 11 inches wide (to allow for half an inch of seam allowance). Figure out the halfway point. From this point, draw a vertical line the height you want the bag+1 inch. Mine was about 10 inches. Draw half the top-width of the bag out from each side of the vertical line. Connect the corners. You should have something shaped like a deep ship. If you don't like the shape, play around with it until you do.
Cut out 2. I used a "decorating fabric", so it's like a sturdy canvas. You could do this with cotton, but you would need to use interfacing for any kind of shape.
Now you need to construct the "keel". This is the bottom and ends of the bag. Start by drawing parallel lines as far apart as you want the bottom of the bag to be, plus seam allowance. So for my 6-inch depth, I had two lines 6 inches apart and 11 inches long. Connect the corners. Then you need to echo the angle of the front of the bag in the sides. If you have a compass and a protractor, this is easy. Otherwise, you can fudge it by using the template from the front and setting the bottom of the front-piece against the end of the rectangle and drawing the flare line exactly as long as the angled side of the front is. After all, these two pieces will be sewn together. You will end up with three pieces:
Next, you will want to add pockets, because what pirate doesn't like pockets? I cut out two pieces of lining fabric. One is the same as the back of the bag, but a little shorter, to allow for seam allowance. One is the size of the bottom of the bag. We'll get to that one in a minute. Seam the inside pocket along the top and baste it to the back piece.
For outside pockets. Cut out three pieces that are the same height as each other, but shorter than the bag by 3 inches or so. Get some matching double-fold bias tape and sew it on to the tops of the pockets. Sew close to the edge, but remember that one side of bias tape is a teeny-tiny bit longer than the other. Put the long side to the inside and stitch really close to the edge of the tape, like so:
Baste the pockets onto the three sides of the bag that don't have the inside pocket. Once you baste a pocket on, handle the piece+pocket as if they were one piece.
Take a really stiff fusible interfacing, like Timtex, and cut it so it is 3/4 of an inch smaller than the bottom on all sides. Center it on the wrong side of the bottom and put the lining fabric on it right side up, making a fusible sandwich. Fuse according to interfacing instructions.
All pieces be-pocketed:
Now we're ready for the tricky part, sewing it all together. Let me tell you that the Bermuda Triangle comes into play here, because you are joining three planes. If you get it wrong, it will look like this:
If you get it right, it will look like this:
First, align one end with the back, right sides together, keeping the tops and the angles together. Try to match up the pocket trim. Sew with 1/2 inch seam allowance until 1/2 inch before the end of the fabric. Backstitch a couple stitches. Put the needle down in the fabric, lift the presser foot, and wrangle the fabric around until the bottom edge of the back runs along the long side of the keel. Continue sewing. Repeat for the third side. Take it out of the machine and check your corners. If they are not perfect, you can either rip them out and try again, or just do a little hand-sewing to reinforce the corner. Do the same thing to the front with the other side of the keel. This will be even harder, but you are a big tough pirate, right? Press the bag to set the seams.
Now you have an oddly-shaped receptacle with pockets. Only a few more steps to making it a bag.
Cut out two long strips of fabric for the straps. These strips must be four times as wide as the finshed strap. I made my finished straps 2 inches wide, so I used an 8-inch wide strip. This seems like overkill, but the extra fabric keeps the straps stiff and grabbable. Press them in half, lengthwise. Open them out and fold the raw outer edges in to the center crease and press them again. Then fold it in half again and press. You will have a long strap with no raw edges. Sew down the length of the strap three times -- once down the middle and once down each side between the middle and the edge. This also strengthens the strap. This would be a great place to use contrasting-colored thread.
Fold down the top of the bag half an inch to the inside, and press it. Just on the pocket side of the seam that attaches the keel, place bag-closing magnets. These will help maintain that shipshape, er, shape, when the bag is standing, and give you full access to the top of the bag when you need it. Fold the top hem down again another 1/2 to 1 inch and press. Sew along the middle of the edge, being sure to catch both thicknesses of fabric, but not sew through the magnetic clasps. This is the top edge of your bag, and it needs to be tidy.
Attach the straps. Get some safety pins and experiment with strap length. I like mine to be fairly short so I can carry it in my hand and not have it touch the floor or bang my ankles too badly, but long enough to fit easily over my shoulder. Once you decide on the strap length, cut the straps, being sure to leave at least two inches of extra fabric at each end for attachment. Check the placement of your straps carefully. You will really hate yourself if you have to pull these stitches out. Most people put the straps in a fore-to-aft configuration to avoid the bag tending to swing sideways. Turn your sewing machine to a very short stitch length. Not quite buttonhole, but teeny. Check again that the straps are where you want them. Sew the straps on with a square. Put an X in the middle of the square for added strenth. This attachment point is all that stands between you and spilling your alpaca in a mudpuddle. It's worth spending time on.
Trim your loose threads, tidy up the corners if you feel the need, and put your yarn in. Ahoy, yarn galleon!
Modifications:
If you really want a stiff bag, you could line all of it with timtex. Or you could reinforce the seams with plastic boning.
If you can't get magnetic clasps, you could use safety pins, or just not clasp it.
If you don't like the wrong side of the decorator fabric, cut out pieces of lining at the same time as you cut out the outside, baste them together, and treat them as one piece of fabric.
If you want to add a zipper, you're on your own.
Designed by Heidi Waterhouse